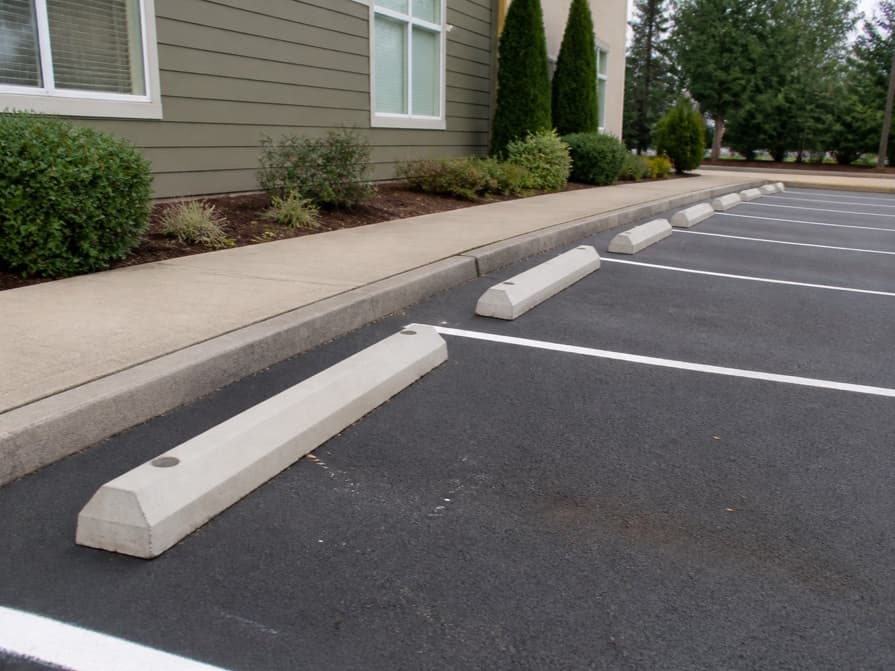
Wheel stop installation
The small install that saves the curb
Every lot has the same problem: the stall at the end of the row, the one closest to the building, the one where a driver figures nobody will notice if they go a little deeper. That's where the curbs get broken, the planters get run over and the storefront glazing gets dented. Wheel stops are the fix, and they're the cheapest damage prevention in the whole lot.
Done right, a wheel stop sits where the driver's line of sight tells them to stop, it's level with the pavement, and it holds the stall depth the layout was designed for. Done wrong, it's a trip hazard and a parking-space shortener. We install them the first way.
Concrete or rubber?
- Concrete: poured, anchored and permanent. No maintenance, no fading, no shifting. The right call for high-traffic lots, storefront frontage and anywhere the stops will see real abuse.
- Rubber: bolted down, lower cost per unit, and easy to relocate if the layout changes. The right call for lower-traffic areas, leased spaces and lots where the stop pattern might move.
Placement is the whole job
A wheel stop set too far back just teaches every driver to park deeper next time. Set too far forward, it eats into the stall and the lot loses usable depth. We lay them out against the striping and the building line, check the sight line from the approach, and mark the pattern before a single unit goes in. You approve the layout, then we install.
How the install goes
- We walk the lot and mark which stalls need stops, usually the front row along the building and curb line.
- We lay out the pattern against the stalls and confirm the sight line from the driving lane.
- We anchor them level with the pavement, so they're a parking guide, not a trip or a bumper test.
- We check the finished row and you walk it with us before we call it done.
Common questions about wheel stops.
What's the difference between concrete and rubber wheel stops?
Where should wheel stops go in a parking stall?
Do I need wheel stops in every stall?
Can you install wheel stops on an existing lot?
How long does a wheel stop install take?
Tell us where the damage is happening.
Send us the address and which rows are taking the abuse. We'll lay out the pattern, get your sign-off and install it in a day.